Showing posts with label baby shower ideas. Show all posts

Thursday, November 11, 2010

Jayme's Shower!

This post has been a long time comin', since my mom and I threw Jayme's shower over Halloween weekend, but I was a little overwhelmed by life in the meantime and am just sitting down to edit pictures  and share with you about the day!
It was (of course) a gorgeous fall day.  But windy.  In fact, it was so windy that all but one balloon that I purchased for the party blew away before anyone even arrived! The party was very small--just a few friends and family--so we had it at our parents' house. Mom did a heck of a lot of cooking while I helped set up the decorations.  I had been collecting vintage baby stuff and ideas for a month or two.  I didn't go crazy, but the house was sprinkled with special little details:


It was a pretty standard shower--we ate lunch, played a couple games, had dessert and watched Jayme open her presents.

gluten-free carrot cupcakes with cream cheese icing and 
pink marshmallow rice krispy treats

Jayme is a bit introverted, so the party was very relaxed and low key--it really turned out perfect (except I was busy running around doing other stuff and didn't take enough pictures!)
 mom, prepping the salad (in a vintage blouse, thrifted skirt, and cowboy boots)
 Jayme and friends

 lunch time--boys were allowed to eat.

 soon-to-be mama and daddy!

 great grandma and cousin Addison

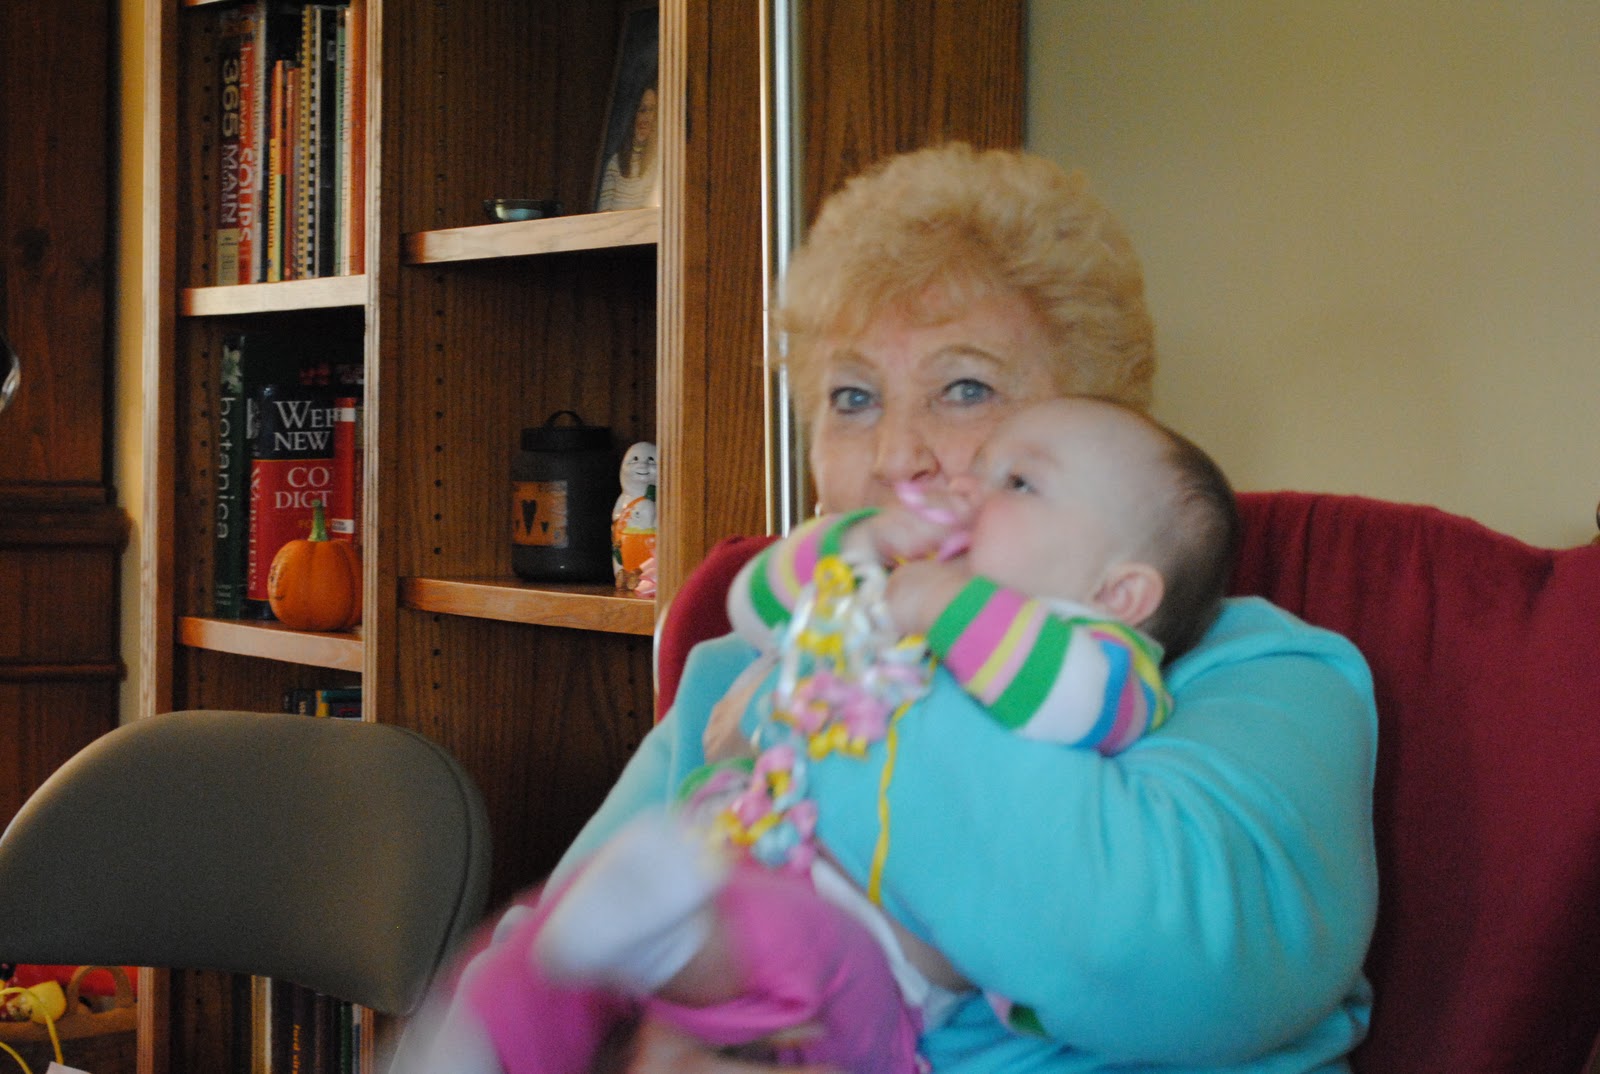
great grandma and Aurora (who loved munching on the beads we handed out for a game)

Of course, no blog would be complete without some outfit shots from the day...
I'm wearing:  vintage dress and necklace, brown tights (Ross-DKNY) and Fossil heels
Jayme's wearing:  vintage top, belt, and boots, leggings (random) 
 
you can already tell she's going to be an awesome mom--
look at the smile on Aurora's face!

There are lots more pictures, but I can't share them all here, so I just shared a few of my favorites. Baby day is approaching (can you believe Thanksgiving is almost here?!) and we can't wait to meet this sweet little girl!

Thanks for all your love and good wishes, friends!
xo
Manda

Thursday, November 4, 2010

Baby L's Nursery: DIY #4

Hey there, it's Amanda again.  I know, two blogs in one week! WOWZA!  I'm taking over this week's DIY because I have been dying to share it with you....except it was a surprise for Jayme's shower, so I had to keep it on the DL until she got it last weekend.

I wanted to make a wooden initial to hang on the wall of my niece's nursery.  But it couldn't just be a boring painted letter...I wanted it to look vintage.  And in the end, it did!  I love how it turned out (and so did Jayme), and it was pretty easy, so I thought I'd share the steps with you.

I sketched the L-shape I wanted (There's a clue for all of you, readers!  Baby's first initial!) on a piece of wood, and Q cut it out for me.***

***Disclaimer:  I am thankful to have a pretty rad husband who knows how to do pretty much anything involving tools and woodworking, which made this DIY extremely personalized from its inception...but if you don't have a husband with a room full of every saw/router/ known to man, you can purchase a wooden letter (I've seen them in the craft sections of Target, Walmart, Michael's, etc.)

He edged it with a router to give it depth/interest.


Then he carved out/sanded any rough edges.

We were ready to go!  (This is where you'll start if you have a pre-made wooden letter.)

1.  I added a coat of white primer...

2....then a coat of the aqua blue after that dried. 
 
3.  (And a second coat of aqua after that one dried).
 
4. Then I went to work sanding down the paint a bit.

5. I focused on distressing the edges where the letter might naturally wear down more.

It looked pretty good at this point, but I still wasn't happy with it, so I decided to use a little throwback from middle school history projects:  tea staining.  I wasn't sure if it would work/last, but I figured it was worth a try. 

6.  I steeped two large bags of earl grey--though I'm pretty sure the flavor doesn't matter as long as it's black tea, I do love the fragrance--in boiling water until the water was cool enough for me to reach in and grab the bags.  I then proceeded to squeeze out the tea bags and rub the leaves on the letter.  (It's kind of messy, so you'll want something underneath as you work.)  I left the tea grounds and drips on the letter overnight.

7.  In the morning, I wiped the clumps of tea off and scrubbed at any places that were too dark.  The letter had the perfect "vintage" tinge to it.

I used it as a centerpiece for Jayme's shower (post and MANY more photos coming soon!)...
And now it's hanging in their nursery, above a darling vintage print I found while thrifting. 

Pretty simple and really pretty.  I had so much fun surprising her with a gift that Q and I had made completely from scratch.  Hope I've inspired you to do some of your own DIY's!

xo
Amanda